Installing Software - Windows CE
Installing .Net Framework
TransLution requires .Net Framework 3.5.
In your System\SCANNER INSTALL directory. Execute the NETCFv35.wce.armv4.cab (armv4.cab) and the Message CAB files (with full name NETCFv35.Messages.EN.cab) by double-clicking each individually.

Installing .Net Framework
Installing TransLution
Browse to the System\SCANNER INSTALL
Run the translution.CAB file (may be named differently depending on the version or user preference)
After executing the TransLution.CAB file TransLution will be installed in the Program Files folder.
This file must be cut from the Program Files folder by selecting the ‘TransLution RF Scanner Setup’ folder, clicking on the ‘Edit’ tab and selecting ‘Cut’. This folder should be pasted in the System folder by first accessing the ‘System’ folder, as shown on the images below.
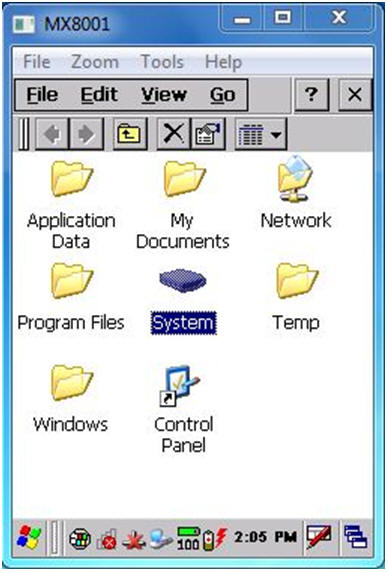
Once in ‘System’ click the ‘Edit’ tab and select ‘Paste’.
Once pasted double-click on the ‘TransLution RF Scanner Setup’ folder and select the ‘TransLutionRFScanner2008’ file.
Click on ‘File’, select ‘Send To’ and select ‘Desktop as Shortcut’.

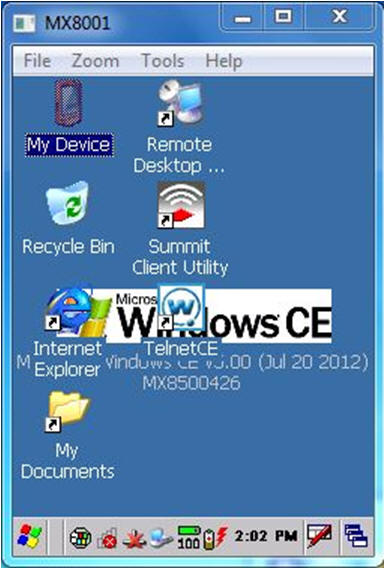
Start TransLution.
To Configure TransLution for the first time you must enter the password BCR8V


Device Name must be unique to each scanner. This name must also be allocated scanner function areas in order for it to be useful. This is covered in the Scanner Permissions section of the on line help.
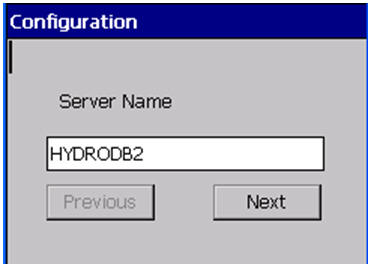
The Server Name is the name of the server where the TransLution RF Server is installed. The IP address or the Host name can be used depending on the network configuration on site.
Database provider must be SQL Server.

Database Server is the name of the SQL server, where the TransLution database is installed.

Database Name is the name of the SQL database that TransLution is using.

All the rest of the settings can remain as the default setting unless otherwise specified for the site specific requirements.